
The rectangles also help to create layers and give make the statue pop out more, this creates depth in the image. The vertical rectangles have no other purpose than adding colour to the image, they are also blue and green which evoke feelings of calmness and also stability due to them being vertical. The circle behind the head represents a halo and is coloured in the same blue and green gradient as the face. There is also the word ‘different’ in latin, the statue is tinged with green and blue which is peculiar and different to other statues that have a perfect grey and no marks or holes on the surface. The title of this piece is ‘Disparatus’, it means separate or divide in latin, the reason for choosing latin is because the statue looks like a roman statue. Green could represent healing and the blue could represent calmness and tranquility. The reasoning behind this was because of the words associated with the colours.
I could have used just one gradient map, however I originally intended to use lots of different colours, instead I used hue/saturation layer to change the colours to green and blue. By using a custom brush set and layer mask I could mask the areas that I did not want. You can see from the layers that I used a lot of gradient maps to create the blue and green tinge on the statue. I did sharpen up the rest of the image to create texture and more interest in the face to distract the viewer from the softer areas. This is my final version, due to a large aperture, there are several parts of the image which appear ‘soft’. In general the image is very uneven and rushed. Also, the circle behind the statue is offset slightly to the left, the pixels towards the top of the head do not start from the top, they start just under so there is one area that is effected and then slightly above it is not affected at all. When creating the pixel effect, you can see a small line towards the top of the image, these are pixels which would have been effected by the filter but I did not remove them.

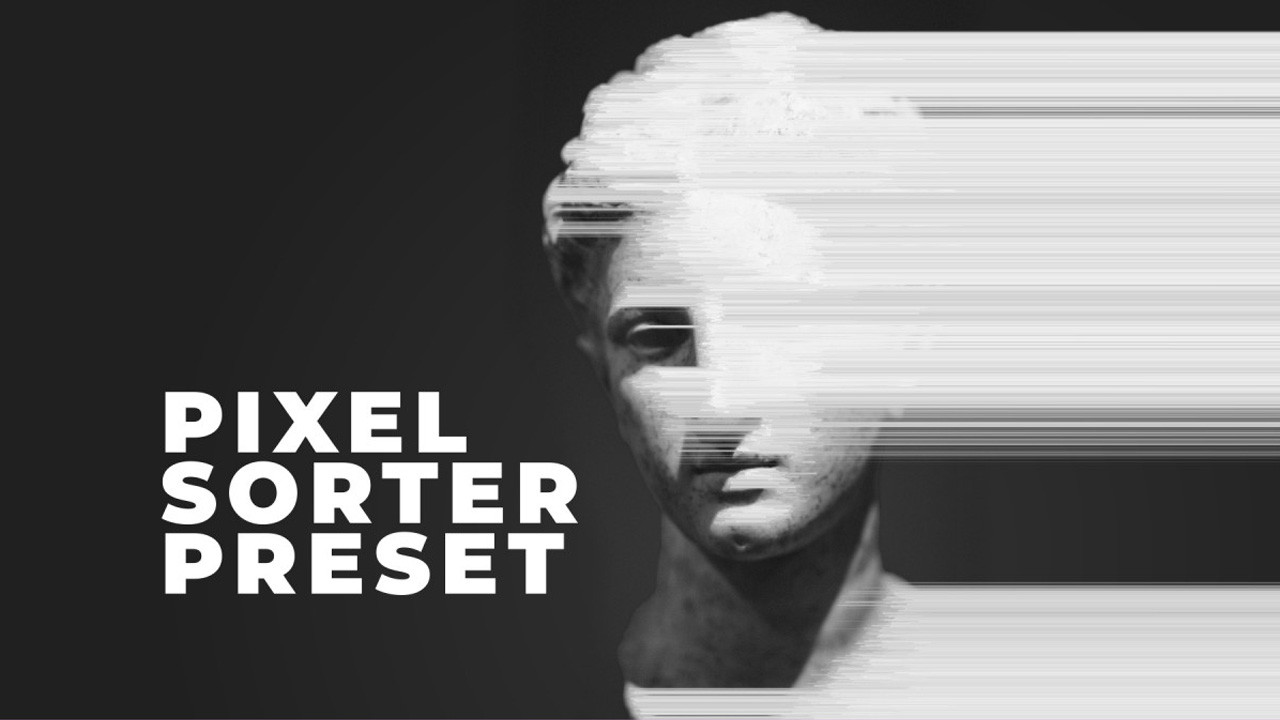
To create the background I used the ‘lifquify’ tool in Photosohp.īelow is the first version of my final image, in hindsight there is a lot wrong with this first version. I used this youtube video to help me create the pixel effect Next you would repeat the filter until you have the desired effect.
From here you would select the stagger option from the left and make sure that your image is rotated 90 degrees clockwise before applying. However, this costs money and a similar effect can be created in photoshop by using Filter>stylise> wind. How to create pixel sorter effect: To create a realistic pixel effect, you would need to use the official script for After Effects – .


 0 kommentar(er)
